Mission 10: Make an Obby Mini-game (30 minutes)
Students create an obstacle course (obby) mini-game. They'll have 30 minutes before the class playtest.
Getting Started
- Open the game menu
- Select an empty slot, enter a title, and click Create
- Select Obby as the game type
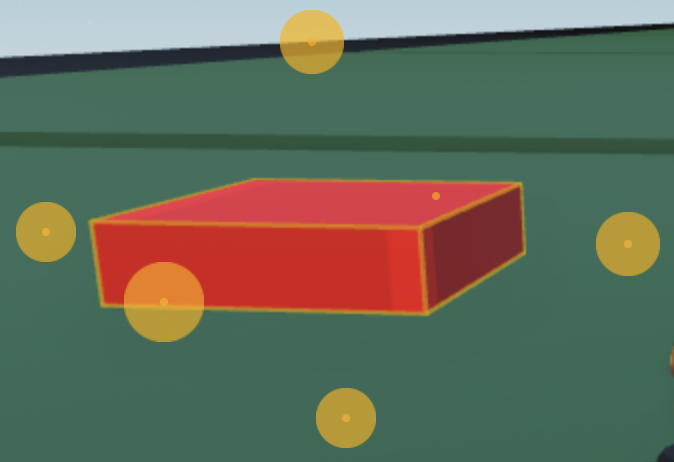
- A gold platform quest item spawns in the middle of your plot
New Build Tools for Obby
Add New Part
- Open build tools
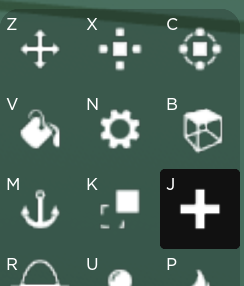
- Click the New Part tool (the + icon, shortcut J)
- Select the type of part to spawn (block, wedge, cylinder, etc.)
- Click anywhere on your plot to place it
Paint a Part
- Click the Paint tool
- Click the part you want to change
- Select a colour from the paint menu
Change Material
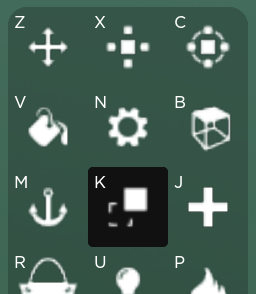
- Click the Material tool (shortcut K)
- Click the part you want to change
- Select a material from the menu
Collision Tool
- Click the Collision tool
- Click the part you want to change
- Click OFF to make players pass through the object, or ON to make it solid
Multi-select Tool (useful for tablet users)
- Click the first part you want to select
- Click the Multi-select tool
- Click the second part
- Now you can move or change colour of selected parts at the same time
Adding Kill Bricks
- Click the props icon to open the props menu
- Click Buffs
- Click Kill Brick then Place
Kill bricks eliminate the player on contact — great for adding danger to your obby!
All Tools Available
Move, Rotate, Resize, Clone, Delete, Undo/Redo, New Part, Paint, Material, Collision, Multi-select